
Last updated November 15, 2026
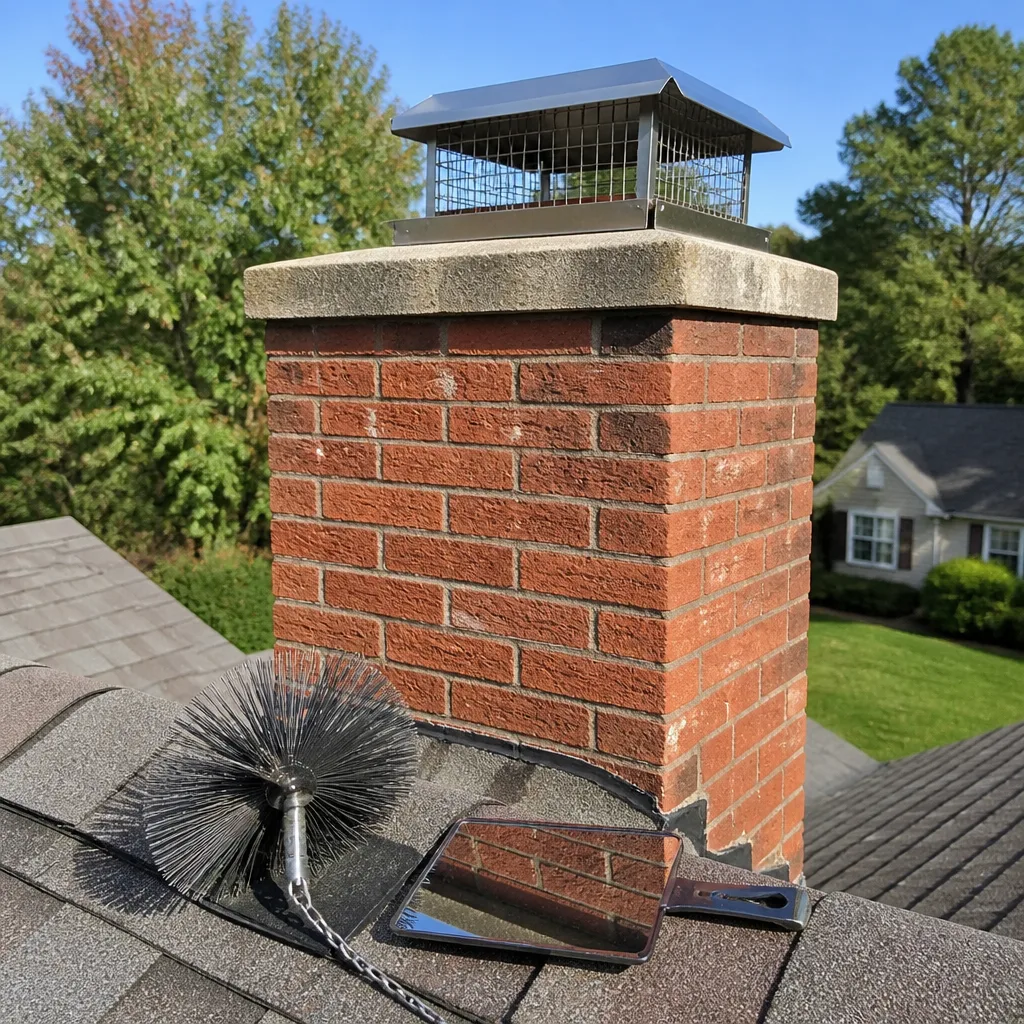 Sweep & inspection
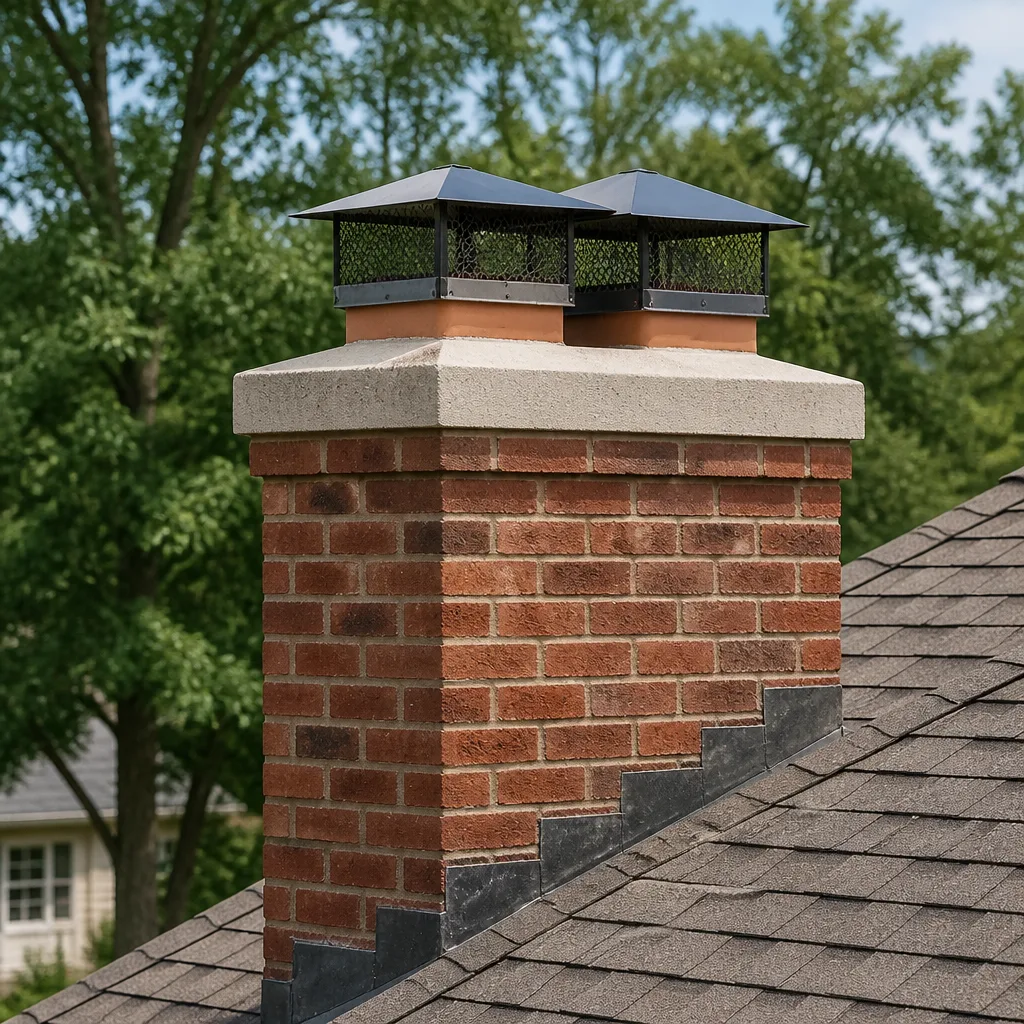 Caps & crowns
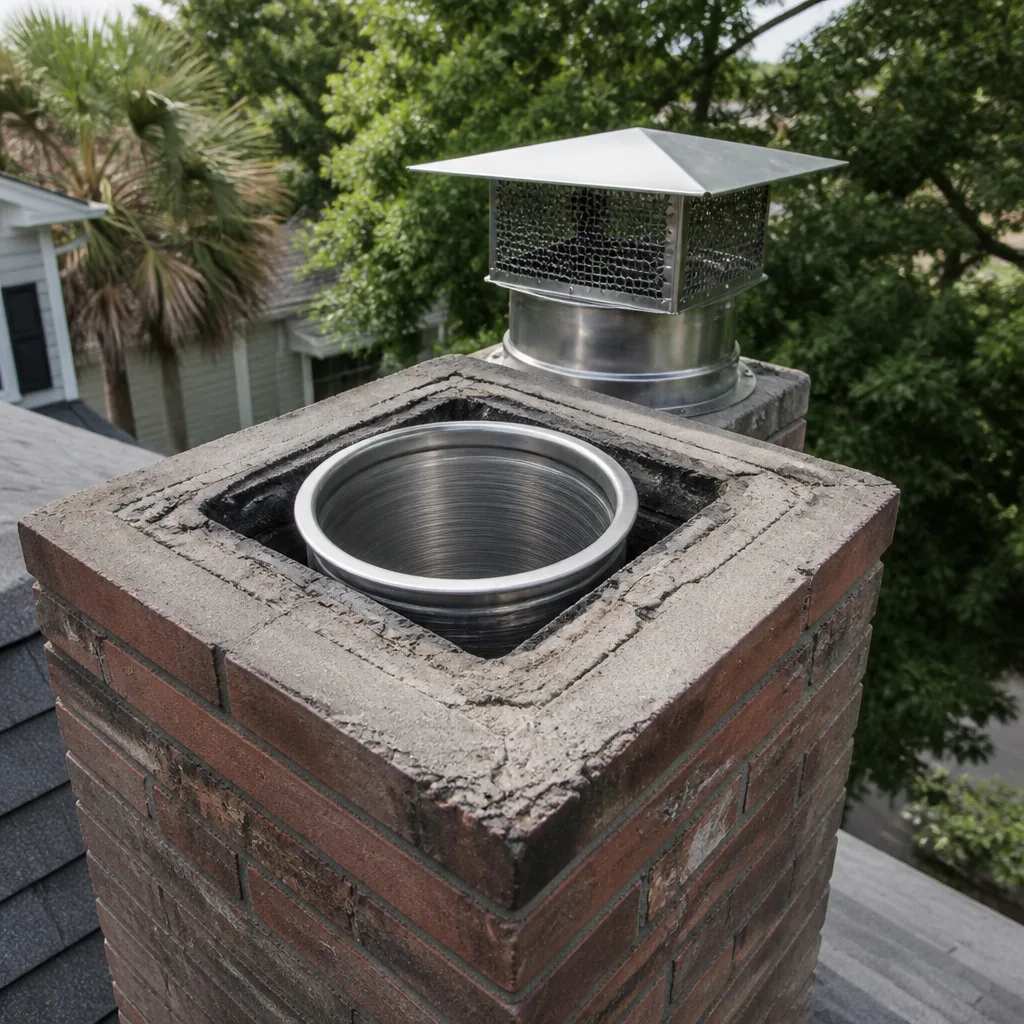 Flue relining
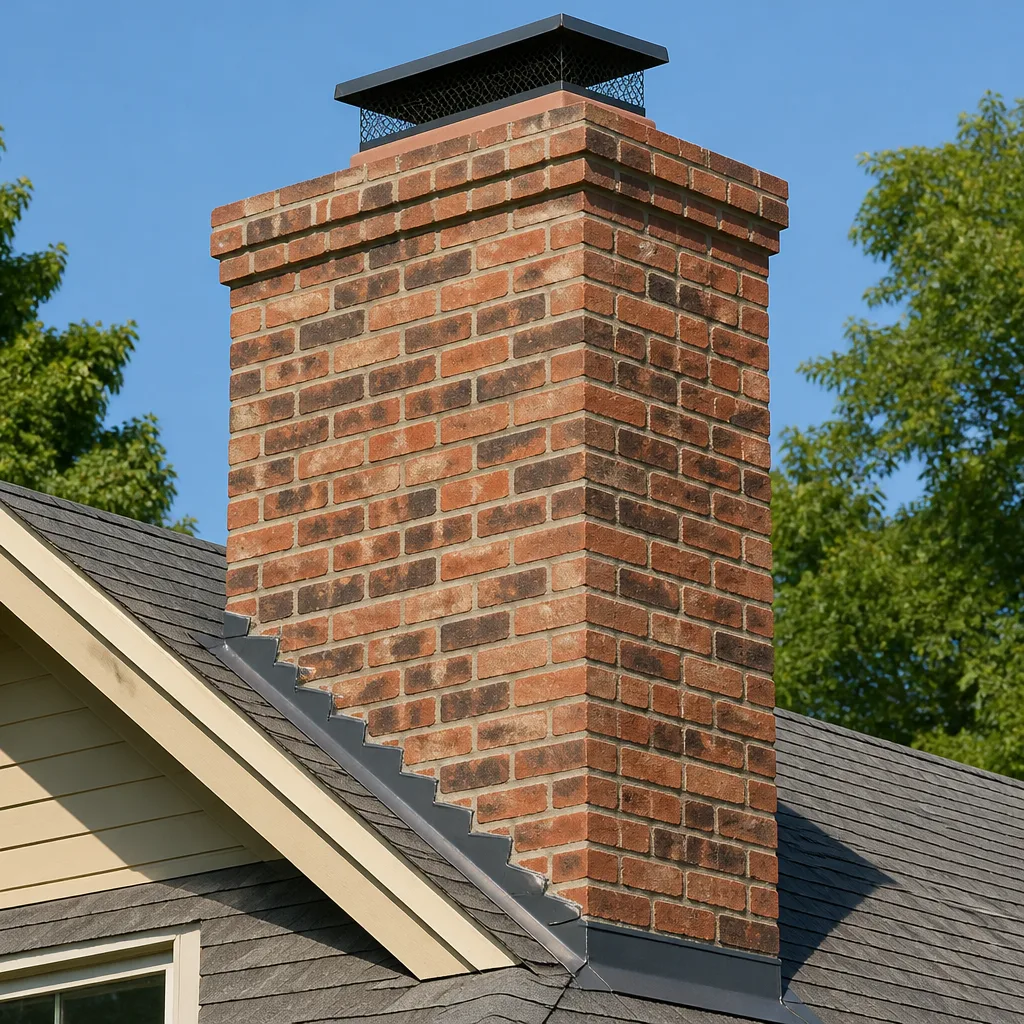 Masonry repair
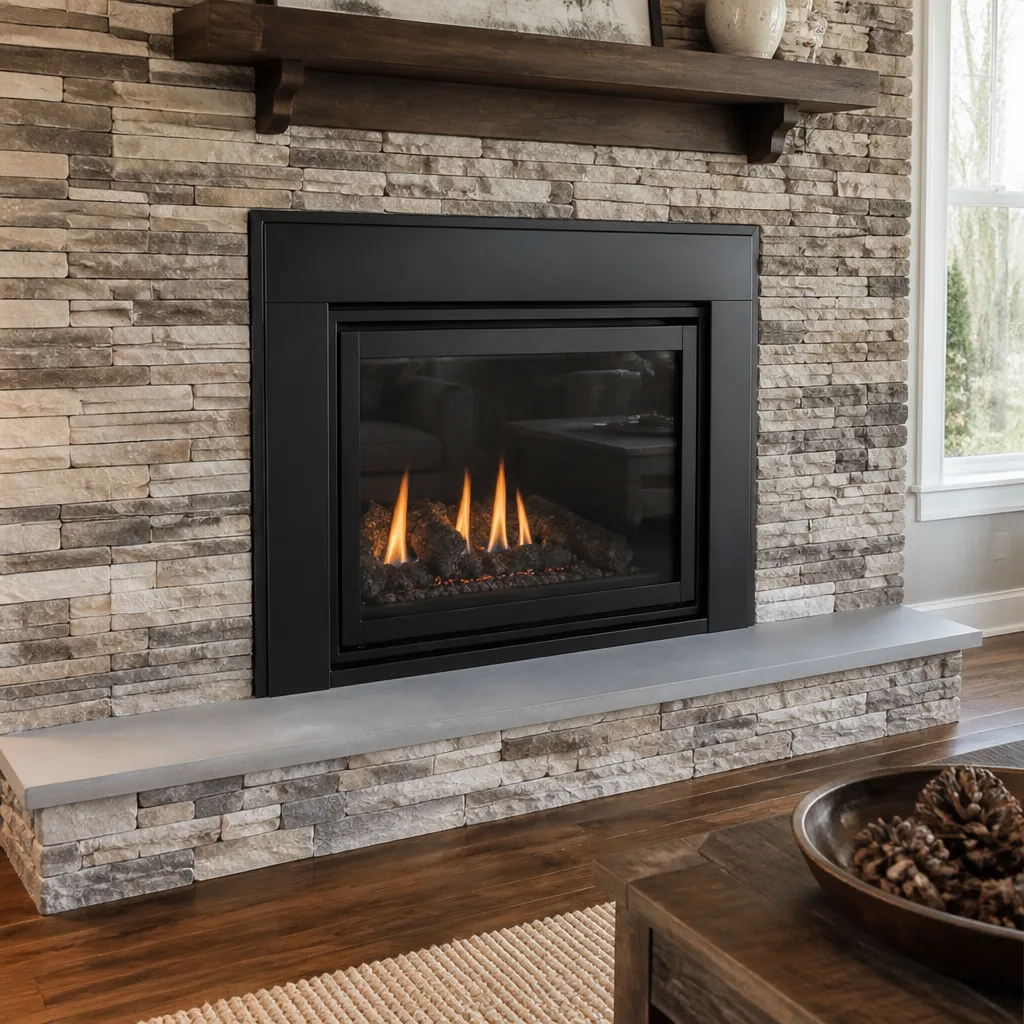 Gas fireplace service
Level 1 sweep and inspection to the NFPA 211 annual standard - flue, crown, cap, and flashing checked and photographed
Chimney sweep logs do not sweep chimneys. They loosen some creosote - which then falls where a brush and vacuum still have to collect it.
Chimney Sweep Maintenance Checklist for Norman Homeowners
The most expensive chimney repairs we see in Norman don’t start inside the flue. They start on the roof, with a hairline crack in the crown that’s been visible from the driveway for two or three heating seasons before anyone bothered to look up. A failed liner gets all the attention because it’s dramatic and expensive, but the slow water damage that ruins a chimney usually begins at the top and works its way down. This guide gives you a component-by-component framework you can walk through yourself between professional visits, so you catch problems while they’re still small. You’ll learn what to check, what tools you need, what each red flag actually means, and when a finding moves from “keep an eye on it” to “schedule this before fall.”
Quick Answer
A chimney maintenance checklist for a Norman home should cover seven components in order from the roofline down: crown, cap, flashing, exterior masonry, smoke shelf, damper, and firebox. Check the exterior items with binoculars from the ground at least twice a year, and check the interior items with a flashlight before each burn season. Anything you can’t see clearly, or any finding that involves cracked masonry, rust, or white staining, should go to a professional for a documented inspection.
Styles & brands we work with
- Sweep & inspection
- Caps & crowns
- Flue relining
- Masonry repair
- Gas fireplace service
Table of Contents
- Why a Component Checklist Beats a Seasonal Reminder
- The Exterior Checklist: What You Can See From the Ground
- Crown, Cap, and Flashing: The Three Items That Cause Most Water Damage
- Reading Your Exterior Masonry: Efflorescence, Spalling, and What They Mean
- The Interior Checklist: Smoke Shelf, Damper, and Firebox
- How to Document What You Find (And What a Pro Needs to See)
- When a Finding Escalates From “Monitor” to “Repair Before Burn Season”
- What Happens During a Professional Sweep and Inspection
Why a Component Checklist Beats a Seasonal Reminder
“Get your chimney checked once a year” is good advice that almost nobody acts on, because it doesn’t tell you what anyone is actually checking. A component checklist is different. It gives you specific things to look at, tells you where to stand to see them, and describes what a problem looks like at each location. That specificity is what turns a vague intention into a habit.
It also changes how you talk to a professional. When you call for service and can say “there’s white staining on the brick below the crown on the north side,” you skip three rounds of questions and get straight to scheduling. In our experience, homeowners who’ve done a walkthrough first ask better questions and approve repairs with more confidence, because they’ve already seen the evidence themselves.
Norman’s climate makes this habit worth building. Summers here are long and hot, with UV exposure that punishes masonry and sealant on south- and west-facing surfaces. Winters bring repeated freeze-thaw cycles, which is what turns a small crack into an open one: water gets in, freezes, expands, and widens the gap a little more each time. Spring brings wind-driven rain that finds every weak point. A chimney in Norman takes a real beating across a single year, and the damage compounds quietly. A fifteen-minute walkthrough twice a year catches most of it early.
The last reason to think in components rather than seasons: repairs are cheaper the earlier they’re caught, and the difference isn’t small. A crown crack sealed while it’s still a crack is a minor job. The same crack left for three seasons can mean water has been running down the flue interior, saturating masonry and rusting the damper assembly. Same chimney, same starting defect, very different scope. For a deeper look at what repair work involves when it does escalate, our chimney repair page covers the methods we use and how we decide between restoring and replacing.
The Exterior Checklist: What You Can See From the Ground
Most of a chimney’s condition is visible without ever getting on the roof. You need a pair of binoculars, decent light, and a willingness to walk the full perimeter of the house rather than just glancing up from the back door. Do this inspection from ground level in the morning or late afternoon when the sun is low and raking across the masonry, because that angled light makes subtle cracks and staining far easier to catch than flat midday sun.
Work through these items in order:
- The crown. Look at the top surface of the chimney, the sloping cap of mortar or concrete that sheds water away from the flue. It should be intact, slightly sloped, and free of cracks. Hairline cracking is normal in an older crown; cracks wide enough to hold a coin are not.
- The cap. The metal or concrete hood over the flue opening. Check for rust streaks running down the chimney below it, bent or missing screening, and debris visible at the opening.
- The flashing. The metal where the chimney meets the roof plane. You’ll be looking at it from an angle, so use the binoculars. Check for lifted edges, gaps where the metal has pulled away from the masonry, and old tar or caulk patches.
- The masonry itself. Scan the full height of the exterior brick or stone on all four sides. Look for white staining, flaking faces, missing mortar joints, and any brick that has visibly moved.
- The roofline contact. Where the chimney passes through the roof, look for staining on the sheathing or shingles immediately around it, which can signal a slow leak.
That’s the whole exterior walkthrough, and it takes about ten minutes. The limit of ground-level access matters: you can assess the condition of a problem, but you usually can’t diagnose it. Binoculars tell you there’s a crack in the crown; they don’t tell you how deep it goes or whether water has already gotten behind it. That’s fine. The checklist’s job is to tell you when to make a call, not to replace the call.
Crown, Cap, and Flashing: The Three Items That Cause Most Water Damage
If you only check three things on your chimney, check these. Water is the most destructive force a chimney faces, and these three components are its main entry points. All three are visible from the ground with binoculars, which means none of them should ever surprise you.
The crown
The crown is the chimney’s roof. It’s usually a mortar or concrete slab sloped to send rainwater toward the edges and away from the flue. When it cracks, water goes in instead of out. Because the crown sits on top of the masonry, that water then works down through the brick and mortar below it, and eventually into the flue structure. A cracked crown is the single most common originating cause of the expensive water damage we’re called out to assess. What to look for: visible cracks, a crown that has pulled away from the flue at its center, crumbling material at the edges, or a crown that’s plainly flat or sloping the wrong way.
The cap
The cap keeps rain, animals, and debris out of the flue. A well-fitted stainless cap with screening also stops downdrafts and keeps sparks contained. What to look for: rust stains on the masonry directly below the cap (that’s cap corrosion in progress, and it’s a clear signal the cap needs replacing), torn or sagging screening, a cap that’s visibly off-center or loose, and any debris packed against the flue opening. When a cap does need replacing, we fit Gelco caps because they hold up better against weather than the thin galvanized units sold at hardware stores.
The flashing
Flashing is the metal work that seals the joint between chimney and roof, and it’s the most common source of chimney-related roof leaks. What to look for: flashing that has lifted away from the masonry, gaps you can see daylight through, rusted or deteriorated metal, and any area that’s been patched with roofing tar or silicone. Tar patches are a red flag rather than a fix, because they fail again, usually within a season or two, and they hide the actual condition of the metal underneath.
All three items share the same escalation logic. A crack, a rust stain, or a lifted edge is a “get this assessed” finding, not a “wait and see” one, because each one is actively letting water in while you wait. A stained but sound cap or a slightly weathered crown with no cracking can reasonably go on the monitor list. If you’re unsure which camp a finding falls into, photograph it and ask.
Reading Your Exterior Masonry: Efflorescence, Spalling, and What They Mean
Exterior brick talks. It shows you what’s happening inside the chimney through a handful of visible signs, and learning to read them is the most useful skill in this whole checklist. Three terms cover most of what you’ll see.
- Efflorescence is the white, powdery staining that appears on brick and mortar. It’s salt drawn to the surface by water moving through the masonry. The white itself is harmless and can be brushed off, but the water that carried it there is not. Efflorescence means moisture is getting into the chimney somewhere. It’s a moisture-intrusion indicator, not just a sign of age, and the source needs to be found.
- Spalling is what happens when that moisture freezes and thaws inside the brick. The face of the brick flakes off or pops away, exposing the softer interior. Once spalling starts, that brick is on its way out. A few spalled bricks can often be replaced individually; widespread spalling points to a moisture problem that has to be fixed first or the new brick will fail the same way.
- Deteriorated mortar joints show up as recessed or crumbling mortar between bricks. Mortar is deliberately softer than brick so it can flex and take the weather, but it does wear out. Joints that have receded noticeably or crumble when touched need repointing before water starts getting behind the brick faces.
Location tells you a lot. Norman’s prevailing weather hits south and west faces hardest, so masonry on those sides tends to show wear first. Chimneys on the north side of a house stay damper longer, which makes them more prone to efflorescence and freeze damage in the joints. If you live in one of the older neighborhoods near downtown Norman, where a lot of the housing stock predates modern flashing details and cap standards, this section deserves extra attention.
Here’s the part most checklists skip: one or two spalled bricks on an otherwise sound chimney is a monitor-and-repair item. A continuous band of spalling, or efflorescence that returns after being brushed off, means water is actively moving through the structure. That’s a schedule-an-inspection-now finding. The masonry isn’t failing because it’s old; it’s failing because it’s wet, and the wet source has to be addressed. For the full exterior, the roof is the other spot worth checking on a regular basis, and you can read more about what we look at on the roof and in the flue on the main Chimney Sweep Norman page.
The Interior Checklist: Smoke Shelf, Damper, and Firebox
Now go inside. You’ll need a good flashlight, and for some of this a mirror helps. Do this when the fireplace is cold and hasn’t been used for at least a day. This is a check-and-observe walkthrough, not a maintenance session: don’t reach up into the flue, don’t try to adjust or repair the damper yourself, and don’t put your hands anywhere you can’t see clearly. The interior of a chimney is where the safety stakes are highest, and the honest limit of DIY is looking, not touching.
- The firebox. The firebox is the chamber where the fire burns. Shine the light across the brick faces and mortar joints on the back and side walls. Look for open cracks in the mortar, loose or missing brick, and any white or gray staining. A firebox with cracked joints lets heat and gases escape into the surrounding structure, which is a genuine fire risk, not a cosmetic issue.
- The firebox floor. Check the hearth and the floor of the firebox for cracks and for any separation where the firebox meets the facing. Ash pits and cleanout doors, if you have them, should close properly and show no rust-through.
- The damper. Open and close the damper and watch it move. It should operate smoothly and seat fully when closed. Look for rust, a damper that binds or sticks partway, or a plate that doesn’t sit flush. A damper that won’t close properly means you lose heat up the chimney all winter and get a downdraft of cold air when the fire’s out.
- The smoke shelf and smoke chamber. These sit above the damper, at the base of the flue, and you can usually see them by shining a light up and angling a mirror. Look for heavy creosote buildup, crumbling mortar, and any visible gaps or cracks in the chamber walls.
- The flue interior, as far as you can see. Look up the flue with the light. You’ll see the first few feet. Heavy, glossy, tar-like deposits are the dangerous kind of creosote, and they mean it’s time for a professional cleaning. Anything you can’t see beyond that first stretch is out of your reach, which is exactly why the annual professional sweep exists.
The smoke chamber deserves a note, because it’s the part of the interior most often neglected. It’s the sloped area between the damper and the flue, and its angled walls collect creosote and are hard to clean with a brush alone. In many older Norman homes the smoke chamber was built with corbelled brick that leaves rough surfaces for deposits to cling to. HeatShield ceramic resurfacing is one way to smooth a rough smoke chamber or restore a deteriorating flue liner without tearing the whole thing out, and it’s a method we use specifically because it preserves masonry that’s still structurally sound. If your walkthrough turns up a rough or crumbling smoke chamber, that’s a finding to raise with a professional rather than attempt yourself.
How to Document What You Find (And What a Pro Needs to See)
A checklist without documentation is just a memory. Photographs turn your walkthrough into something a professional can assess before anyone gets on a ladder, and they give you a record you can compare against next season. The whole process takes a few extra minutes and makes every future conversation more productive.
Take photographs in a consistent way so that next season’s shots can be compared directly:
- One wide shot per side of the chimney. Stand back far enough to get the whole chimney in frame. This is your baseline for spotting new staining or spalling next time.
- One close shot of the crown from the ground, zoomed in as far as your camera allows without losing sharpness. Get the flue opening and the crown edges in the same frame.
- One shot of the cap and the masonry directly below it. Any rust staining or corrosion shows up here.
- One shot of the flashing on each side where the chimney meets the roof.
- Interior shots of the firebox walls, the damper in both open and closed positions, and up the flue with the flashlight illuminating the surface.
- Anything that looks like a change. If a joint looks wider than last year or a stain is bigger, photograph it and note the date.
When you hand off to a professional, the details that matter are location and duration. “White staining on the north face of the chimney, about two feet below the cap, appeared sometime in the last year” is useful. “The chimney looks bad” is not. Tell them which components you checked, which findings are new, and which ones have been there a while. A photo beats a description every time, so send the images with your inquiry if you can.
One thing your photos won’t tell you: the condition of the flue liner past the first few feet, or the exact depth of a crack. Those need a camera and a trained eye. When you’re ready for that, a documented assessment is worth having on file for insurance, a real estate transaction, or just your own maintenance records. We’re glad to look at your photos first and tell you whether what you’re seeing is likely a routine item or something worth scheduling for.
When a Finding Escalates From “Monitor” to “Repair Before Burn Season”
The hardest part of any self-inspection is knowing where the line is between “note it and move on” and “call this in.” The line isn’t about how bad something looks. It’s about whether the defect is actively causing damage or creating a safety risk right now. Here’s how we draw it.
Monitor these
- A crown with hairline surface cracks and no separation at the flue
- Mild efflorescence that brushes off and doesn’t immediately return
- A damper that moves smoothly but has some surface rust
- Slightly recessed mortar joints without crumbling or gaps
Schedule an inspection before burn season
- Any crack in the crown wide enough to see clearly or hold a coin
- Rust staining below the cap, which means the cap is corroding
- Flashing that has lifted, gaps at the roof joint, or tar patches over old repairs
- Efflorescence that returns after being brushed off
- More than a few spalled bricks, or spalling on more than one face
- Open cracks in the firebox mortar or a firebox floor that’s cracked through
- A damper that binds, sticks, or won’t seat fully closed
- Visible heavy or glossy creosote on the smoke shelf or up the flue
That second list is deliberately long, because the cost of an unnecessary inspection is small and the cost of a missed defect is not. No fire is worth building in a chimney with a cracked firebox or a corroded cap. If any of these show up, book the sweep and inspection, and mention what you found when you do. The inspection will confirm or clear your finding with a camera and a written record, and you can decide from there whether work is needed now or can safely wait.
One more escalation trigger that doesn’t show up in a visual check: a change in how your fireplace behaves. Drafting problems, smoke rolling into the room, a smell of creosote when the fire’s out, or a fire that burns differently than it used to. Behavior changes often precede visible damage, and they always deserve a professional look. For a full picture of the cleaning side of the service, the chimney sweep page walks through what a proper sweep includes.
What Happens During a Professional Sweep and Inspection
A professional visit does two things your walkthrough can’t: it cleans the flue thoroughly, and it inspects the parts you can’t see. The sweep comes first, because the inspection is only meaningful when the flue is clear. A camera can’t assess a liner it can’t see past, and nobody can assess a firebox through a layer of soot.
Here’s the sequence a proper visit follows:
- Setup. Drop cloths and a containment setup go down around the hearth and in the work area before any equipment comes in.
- Sweeping. The flue is brushed with the right tools for the liner type, and a HEPA vacuum runs continuously to keep dust out of the house. Creosote is removed from the flue, smoke shelf, and firebox.
- Camera inspection. A camera goes up the flue to look at the full length of the liner, the joints, the smoke chamber, and the top termination. This is where a liner problem actually gets seen rather than guessed at.
- Exterior check. Crown, cap, flashing, and masonry are assessed, ideally in person rather than from the ground.
- Photo report. You get a written record with photographs of what was found, tied to specific components.
- Findings and options. Anything that needs attention is explained and quoted, with a clear indication of what can wait and what shouldn’t.
We work with trade-grade materials by name: DuraFlex liner systems for flexible relining of older or irregular flues, HeatShield for restoring a liner or smoke chamber that’s still structurally sound, and Olympia Chimney components where they fit the job. We tell you exactly what’s going into your chimney and why, so you can research it yourself before making a decision. If your flue can be restored instead of relined, we’ll tell you that, because the right repair isn’t always the bigger one. Our technicians have up to experience, and every visit is handled by the same team that does our repairs and inspections, so there’s no handoff between contractors.
For homeowners buying or selling an older house in Norman, the photo report is often the most valuable part of the visit. It’s a documented, component-level assessment you can hand to a real estate agent, an insurer, or a buyer’s inspector. If you’re newer to the area, our Norman page has more on the neighborhoods and housing stock we work with most.
Common Mistakes to Avoid
- Calling it done after the sweep. A clean flue is not the same as a sound chimney. The cleaning removes what’s in it; the inspection finds what’s wrong with the structure around it. Both need to happen on every visit, or you’re only solving half the problem.
- Checking the chimney once, in fall, and forgetting it. Norman’s weather works on masonry year-round. A spring check after the freeze-thaw season catches winter damage before summer heat finishes it off, and a fall check catches anything the summer storms brought in.
- Judging condition by age. A 60-year-old brick chimney with a repaired crown and sound flashing can be in better shape than a newer one with a neglected cap. Read the condition, not the calendar.
- Treating tar patches on flashing as a repair. Tar is a stopgap that hides the metal’s condition and fails again within a season or two. It’s worth having flashing properly restored rather than patched repeatedly.
- Brushing off efflorescence as “just age.” White staining means water is moving through the masonry. It’s an active moisture indicator, and the source needs to be found rather than the symptom brushed away.
- Buying a hardware-store cap to replace a failed one. Thin galvanized caps rust out in a few seasons in this climate. A proper stainless or Gelco cap is a one-time job instead of a repeating one.
- Skipping the interior because “it still draws fine.” Draft is only one function of a chimney. A firebox with cracked joints or a liner with a gap can draw well and still be unsafe, and those are the problems the flashlight check exists to find.
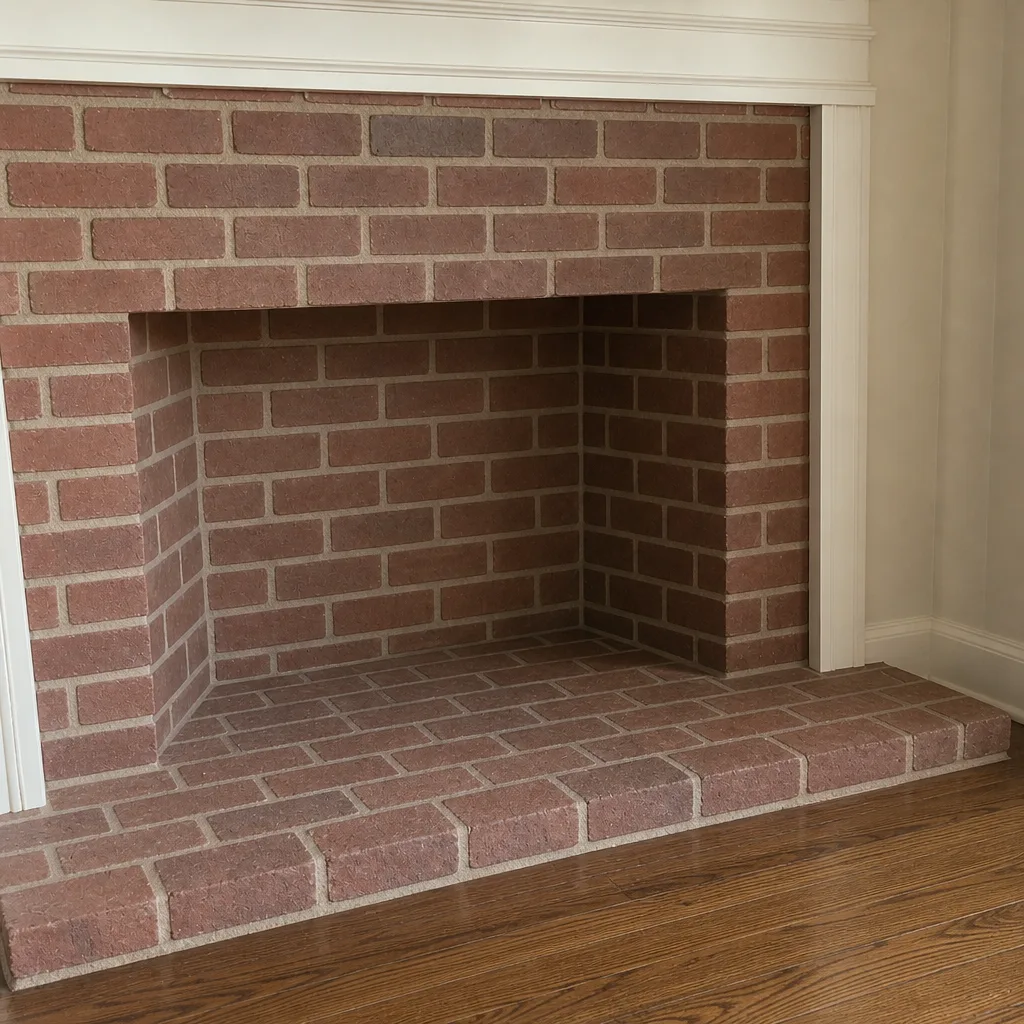
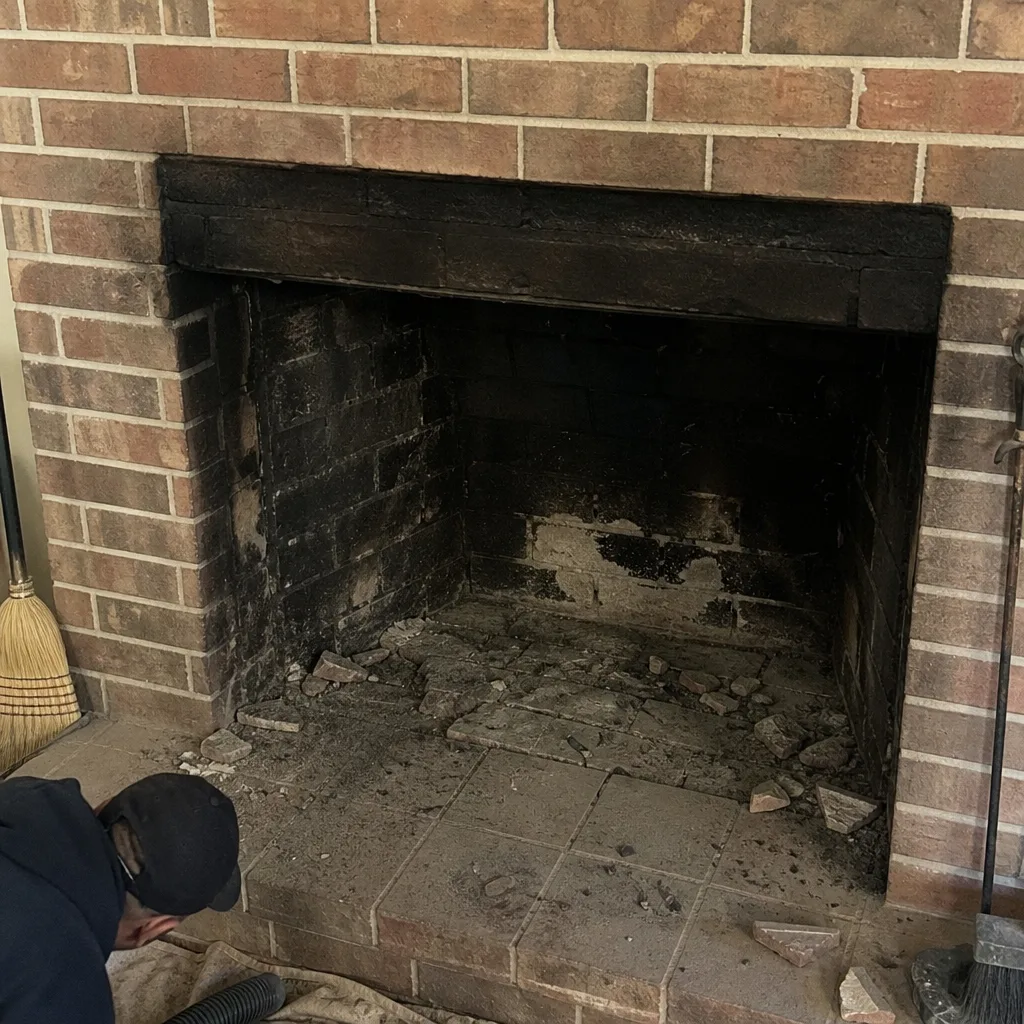
See the difference
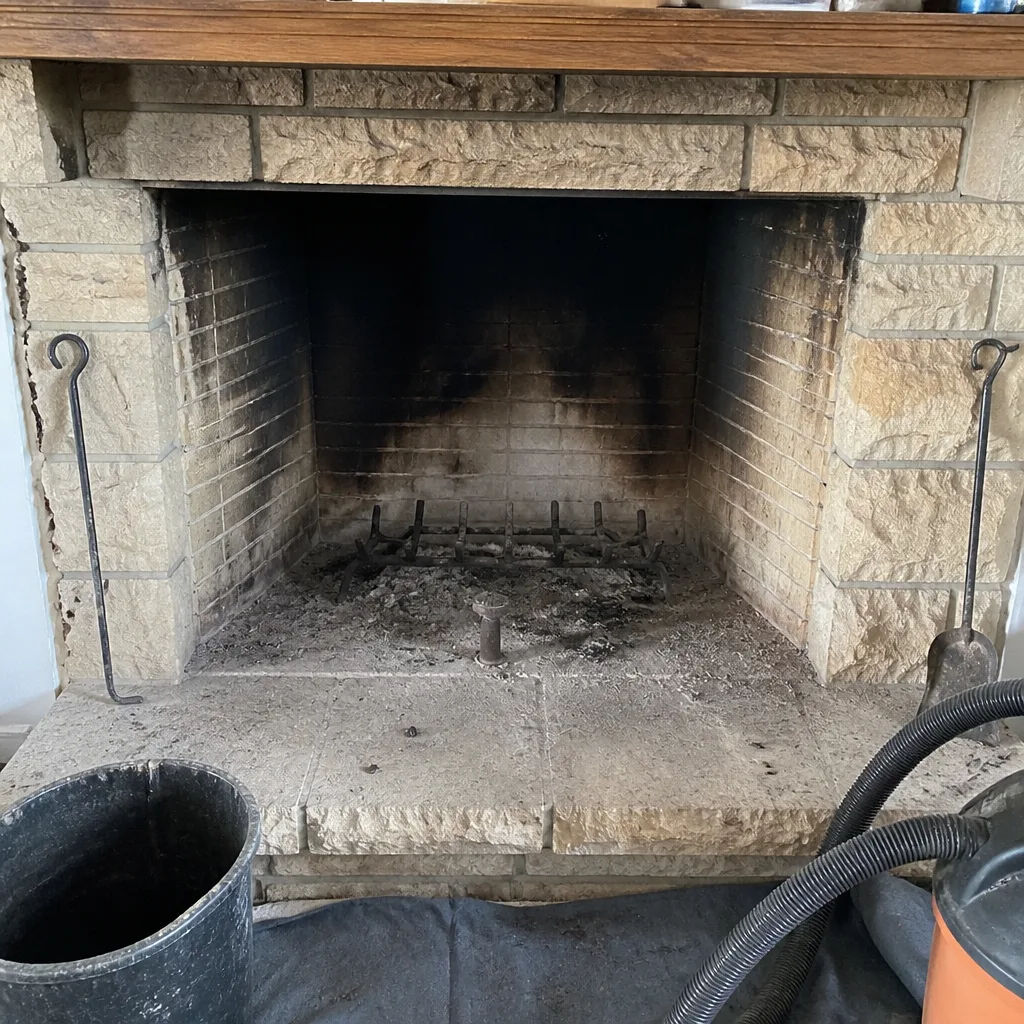 Before
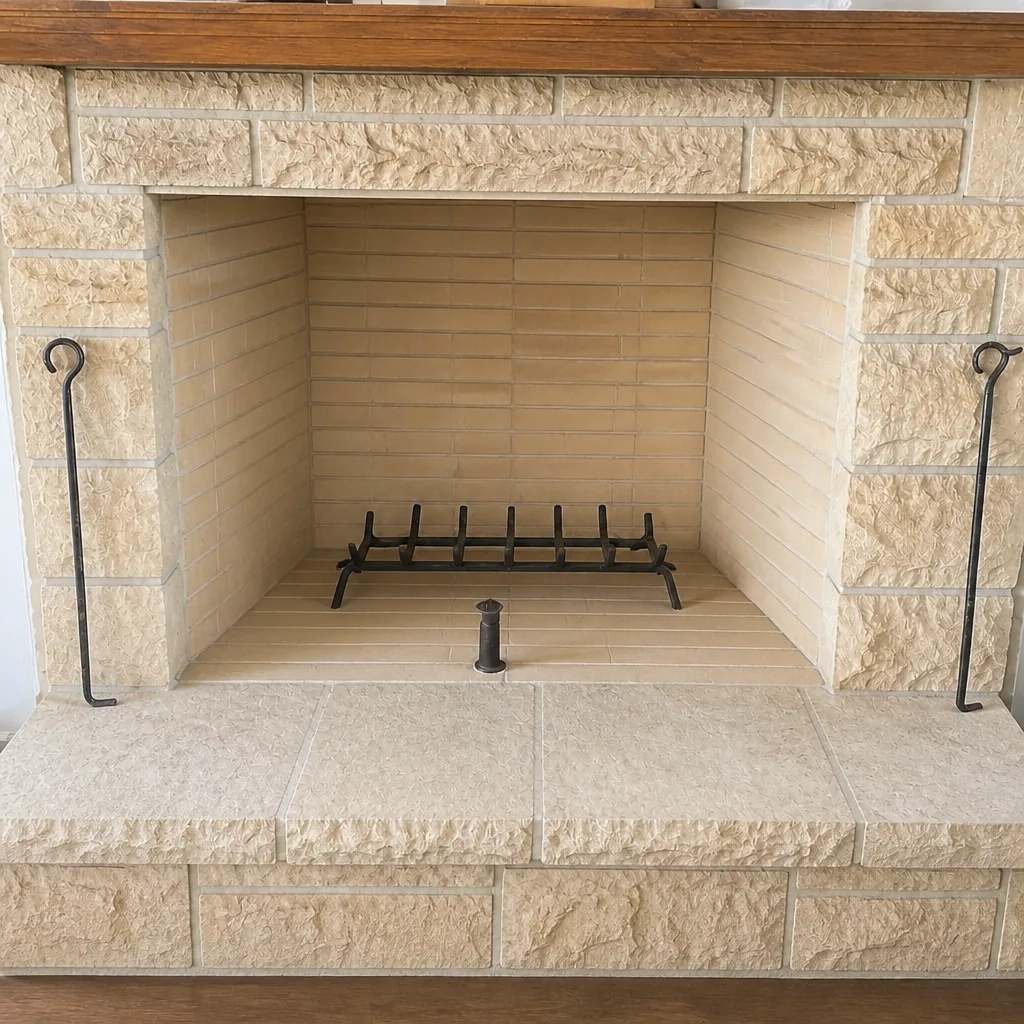 After
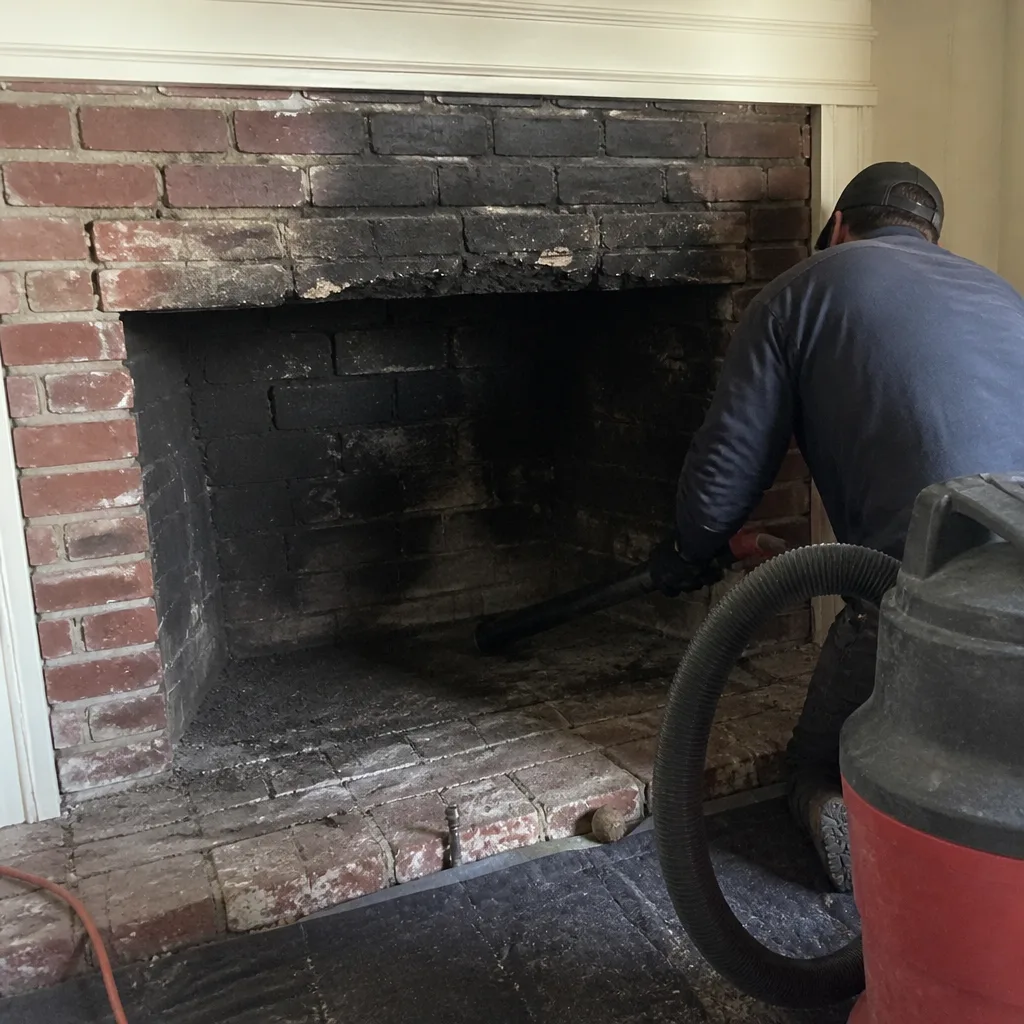 Before
 After
 Before
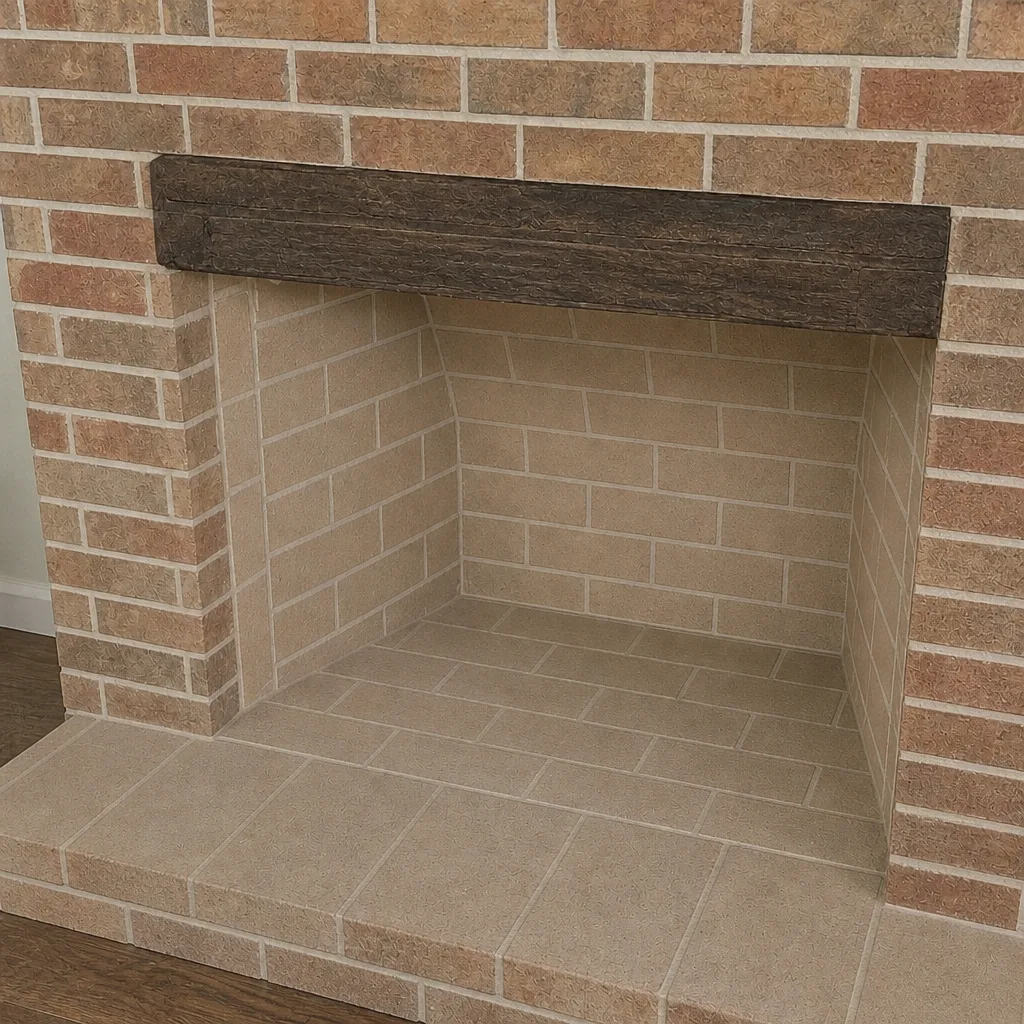 After
When to Call a Professional
Call for anything you can’t see clearly or fix safely. Specifically: any crack in the crown or firebox, rust staining below the cap, flashing that’s lifted or missing, mortar joints that crumble rather than recede, efflorescence that keeps coming back, a damper that binds, glossy creosote visible in the flue, or any change in how the fireplace drafts or burns. Also call after a chimney fire or a strong storm with wind damage. Your annual sweep and inspection should happen regardless of what the checklist turns up. If you’ve done a walkthrough and you’re not sure what you’re looking at, send us your photos; we’ll tell you whether it looks like a routine item or something worth scheduling. A clean chimney is a fire-safety decision, not a maintenance checkbox.
Frequently Asked Questions
A standard sweep is a flat price, agreed before we book, so you know the cost before anyone arrives. The written estimate sets the final price, and the estimate itself is free. Call (888) 561-3468 to book a sweep or ask about inspection.
Once a year for most wood-burning fireplaces, and more often if you burn heavily or use green or unseasoned wood. Gas appliances have their own service intervals, so ask when you book. An annual visit is also the easiest way to keep the checklist habit going, because the inspection catches what you can’t see.
Not always. A liner with open gaps, cracked mortar, or visible spalling typically needs replacing, usually with a flexible system like DuraFlex. A liner that’s structurally sound but rough or deteriorated on the inside can often be restored with HeatShield instead. Nothing gets recommended without camera evidence you can see for yourself, and if your flue can be restored rather than replaced, we’ll tell you that.
Creosote builds up in the flue with every fire, and the heavier, tar-like deposits are the ones that ignite. A chimney fire can damage the liner and spread into the surrounding structure. Skipping the sweep also means skipping the inspection, which is how small moisture problems become major repairs. It’s not that something always goes wrong; it’s that nobody’s checking for the things that do. Call (888) 561-3468 for an exact quote.
Yes, and you should. Crown, cap, flashing, exterior masonry, smoke shelf, damper, and firebox are all checkable from the ground or from inside the house with binoculars and a flashlight. What you can’t do yourself is see the full length of the liner or safely assess a structural defect. Your walkthrough identifies findings; the professional visit confirms them.
Yes. Our inspection produces a documented, component-level assessment with photos that homeowners and buyers can use for a transaction, insurance, or their own records. We serve Norman and the surrounding area, and we’re happy to work from photographs to get started. Call (888) 561-3468. We answer 24/7. Fast dispatch from 7am to 7pm, Sunday through Friday.
The Bottom Line
Chimney maintenance in Norman isn’t a seasonal reminder; it’s a component walkthrough you can do yourself twice a year. Crown, cap, flashing, exterior masonry from the ground, then smoke shelf, damper, and firebox from inside. Photograph what you find, note what’s new, and know which findings go on the monitor list versus the schedule-before-burn-season list. Anything you can’t see clearly goes to a professional, and everything goes to a professional for the annual sweep and camera inspection. The work you do between visits is what catches the small problems, and the professional visit is what confirms them. Sweep, repair, inspect: one company, one standard of work.
Chimney Sweep Norman offers free estimates in Norman. Call (888) 561-3468. We answer 24/7. Fast dispatch from 7am to 7pm, Sunday through Friday. Trade-grade materials by name, a clear explanation of what we found and why, and the photo evidence to go with it.
Written by the team at Chimney Sweep Norman.